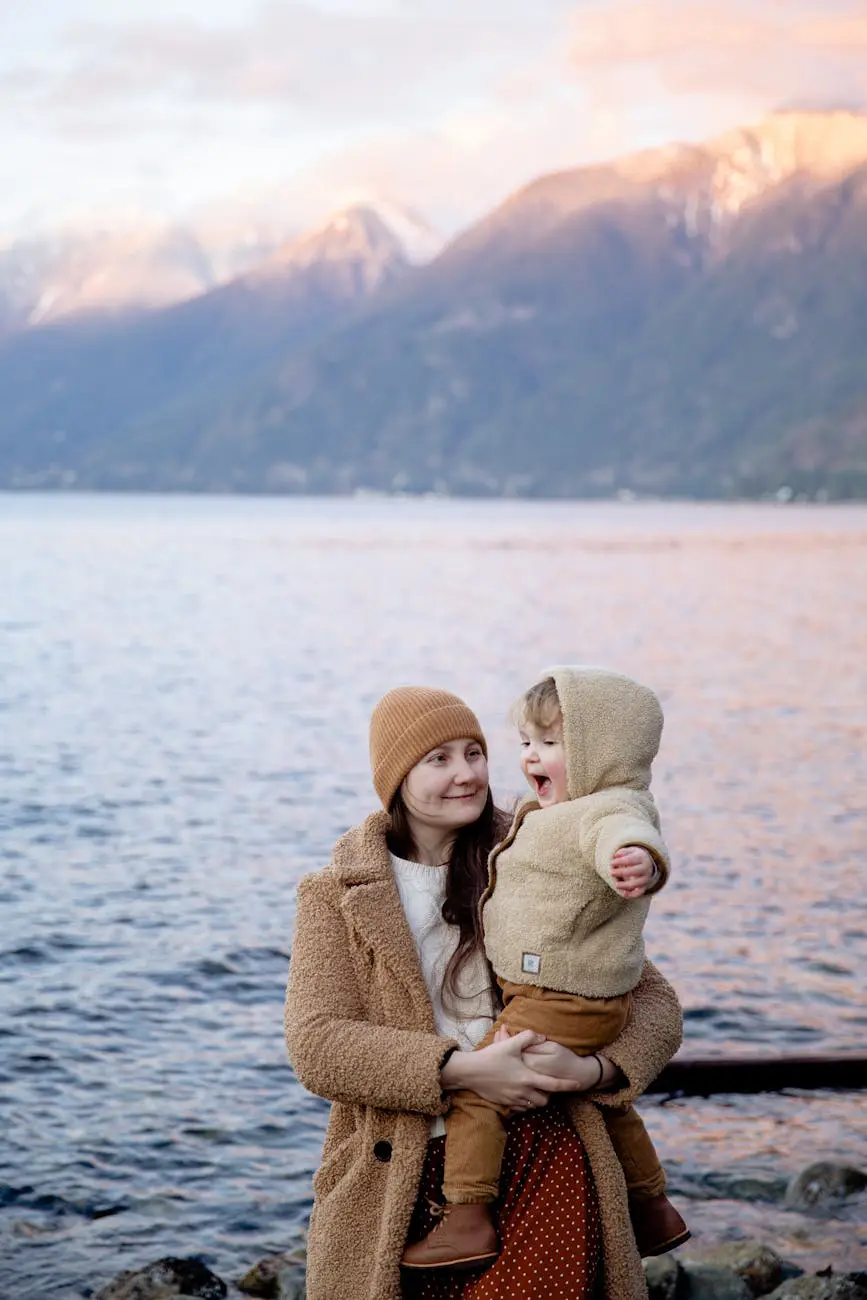
A first birthday has a way of sneaking up on you. One minute you are learning how to hold your newborn, the next you are planning how to celebrate a whole year of milestones, sleepless nights, and unforgettable firsts. A cake smash photoshoot is a joyful way to mark the occasion, and the best part is you do not need a studio to make it special.
With a little planning and a relaxed mindset, you can create a DIY first birthday cake smash photoshoot at home that looks beautiful, feels personal, and captures your baby exactly as they are in this moment.
Why Doing It at Home Just Works
Babies are unpredictable at the best of times. At home, they are more comfortable, which often means more smiles and fewer meltdowns. You are not working to a strict time slot, so if your baby needs a snack, a cuddle, or a quick break, you can simply go with it.
It also gives you the freedom to be creative. You can design a setup that feels like your family rather than trying to recreate something perfectly styled from a studio catalogue.
Step One: Pick a Theme That Feels Natural
Start with something simple. A theme helps guide your choices, but it does not need to be elaborate.
Soft neutrals with a white backdrop always photograph beautifully. You could add a touch of whimsy with pastel balloons, or go for something playful like a rainbow or animal theme. If you are looking for ideas, a scroll through Pinterest can spark inspiration, but trust your instincts over trends.
Step Two: Create a Clean and Bright Backdrop
This is where a little practicality meets creativity. A white backdrop not only looks timeless but also helps bounce light and keep your photos fresh and bright.
You can use a plain white wall if you have one available. If not, a simple white bed sheet draped neatly behind your setup works perfectly. For an even cleaner look, some parents use photographic paper rolled down from a surface to the floor. It creates that seamless studio effect and has the added bonus of protecting your floor from icing and crumbs.
This is one of those small decisions that makes clean up far easier later.
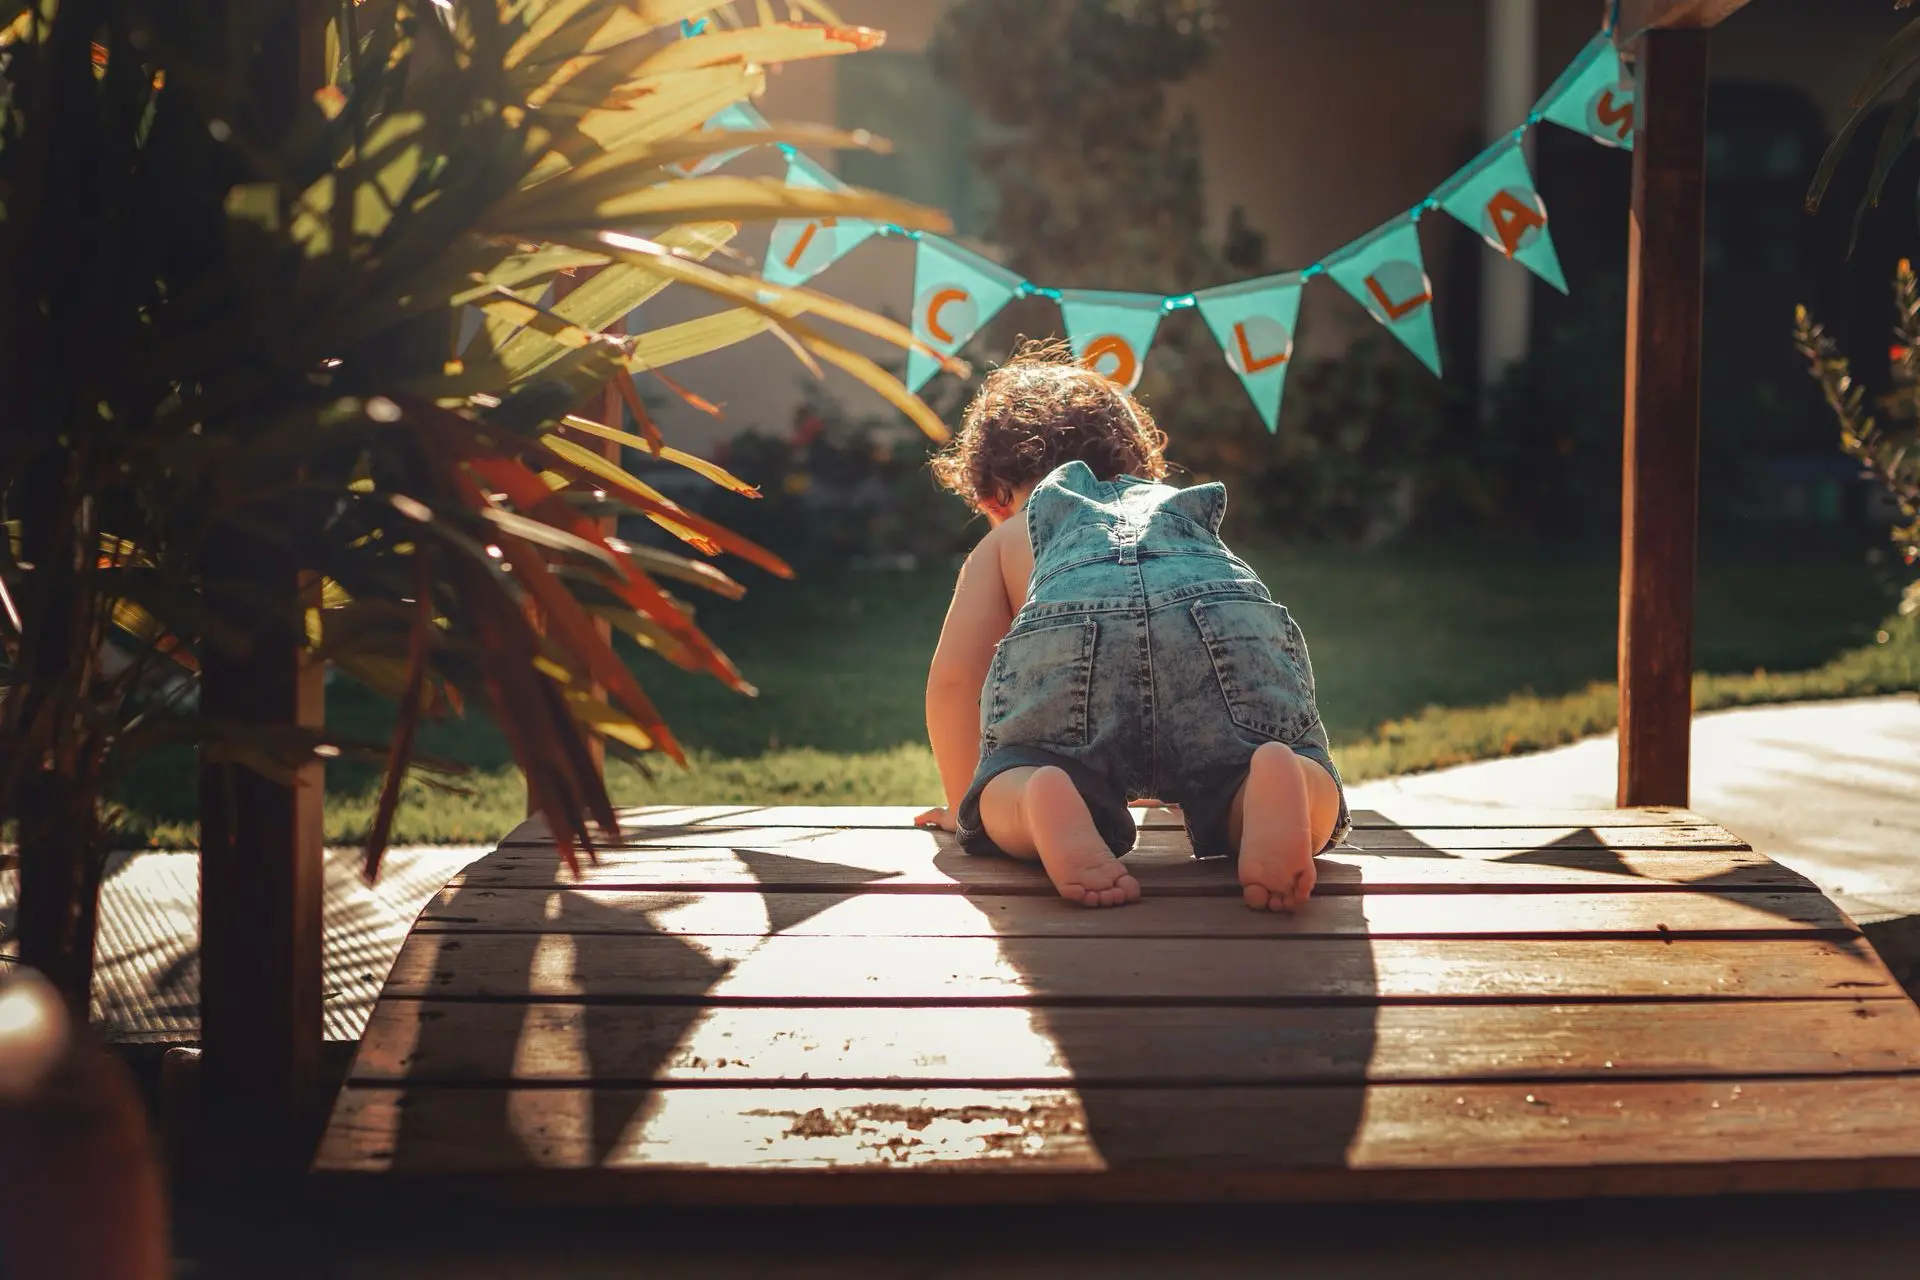
Step Three: Add Simple Decorations That Pop
Once your backdrop is sorted, layer in a few thoughtful details.
Bunting instantly adds a celebratory feel and is easy to hang or tape to the wall. Balloons bring colour and movement, whether you choose a small cluster or a few scattered around the space. A cake stand can elevate the cake slightly, making it feel like the centrepiece it deserves to be.
A light sprinkle of confetti can add texture, though you may want to keep it minimal unless you enjoy finding it weeks later in unexpected places.
The key is balance. A few well chosen elements will always look better than a crowded scene.
Step Four: Choose or Make the Perfect Cake
The cake should be soft, easy to grab, and fun to smash. A simple sponge with a generous layer of buttercream works wonderfully.
If you enjoy baking, you can find reliable baby friendly recipes on Solid Starts. If not, a small cake from a local bakery or store is absolutely fine. Just let them know it is for a baby so they can keep it simple.
Avoid hard decorations or thick fondant. The goal is squishy, messy fun.
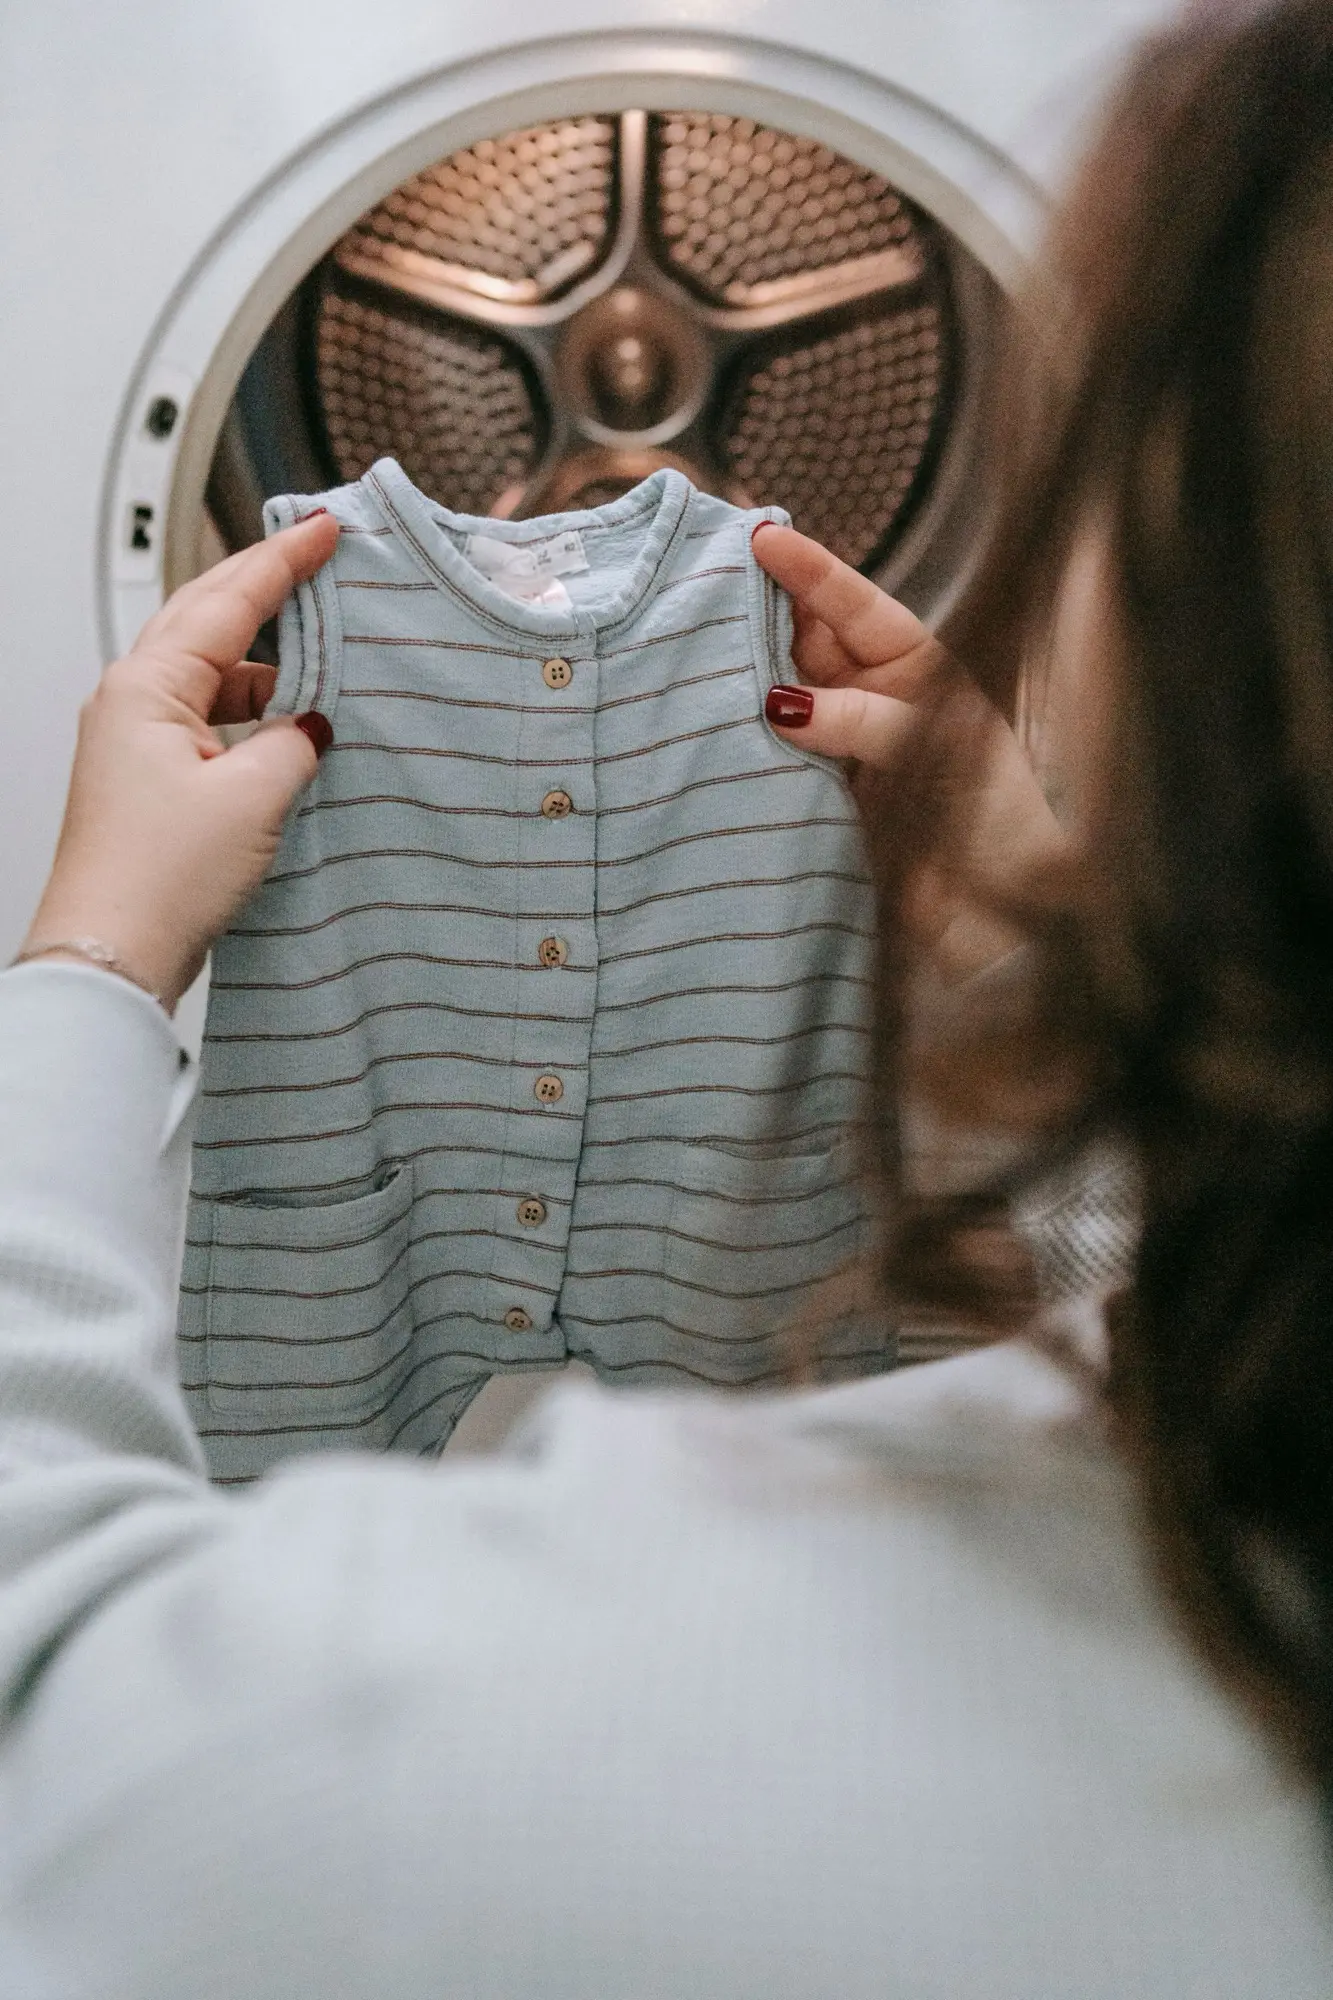
Step Five: Dress Your Baby for the Occasion
Outfits should be cute but comfortable. A nappy cover, a romper, or a soft dress often works best.
Lighter colours tend to photograph beautifully against a white backdrop, but do not be afraid of a bit of colour if it suits your theme. Just remember that whatever they wear will almost certainly end up covered in cake.
Keep a spare outfit nearby for after the shoot.
Step Six: Set Up Your Camera or Phone
You do not need anything fancy to capture great photos. A smartphone will do the job brilliantly.
Position your camera at your baby’s level for a more natural perspective. If you can, use a tripod or prop your phone securely so you are not juggling it while trying to encourage your baby.
Take both photos and videos. Photos capture those perfect still moments, while videos bring the whole experience to life later on. The tiny sounds, the giggles, even the puzzled expressions are worth keeping.
Step Seven: Let Them Explore
Place the cake in front of your baby and see what happens. Some babies dive straight in with both hands, while others approach like cautious little scientists.
You can gently encourage them by touching the cake or offering a small taste, but try not to rush them. The magic is in their natural reactions.
Step Eight: Capture the Real Moments
This is where you want to stay present. Take plenty of photos, but also watch what is happening.
The way your baby squishes the cake, the frosting on their cheeks, the moment they realise they are allowed to make a mess. These are the memories you will treasure.
Do not worry about perfection. Some of the best shots are the slightly chaotic ones.
Step Nine: Embrace the Mess and Enjoy the Finish
By the end, there will be cake everywhere. That is part of the charm.
Have wipes, towels, and a bath ready. A quick splash in the tub can even turn into a second mini photoshoot, with your baby happily cleaning up and playing.
Creative Ideas to Make It Extra Special
If you want to add a personal touch, think about including items that mean something to your family. A favourite toy, a well loved book, or even a small sign with your baby’s name can make the photos feel more meaningful.
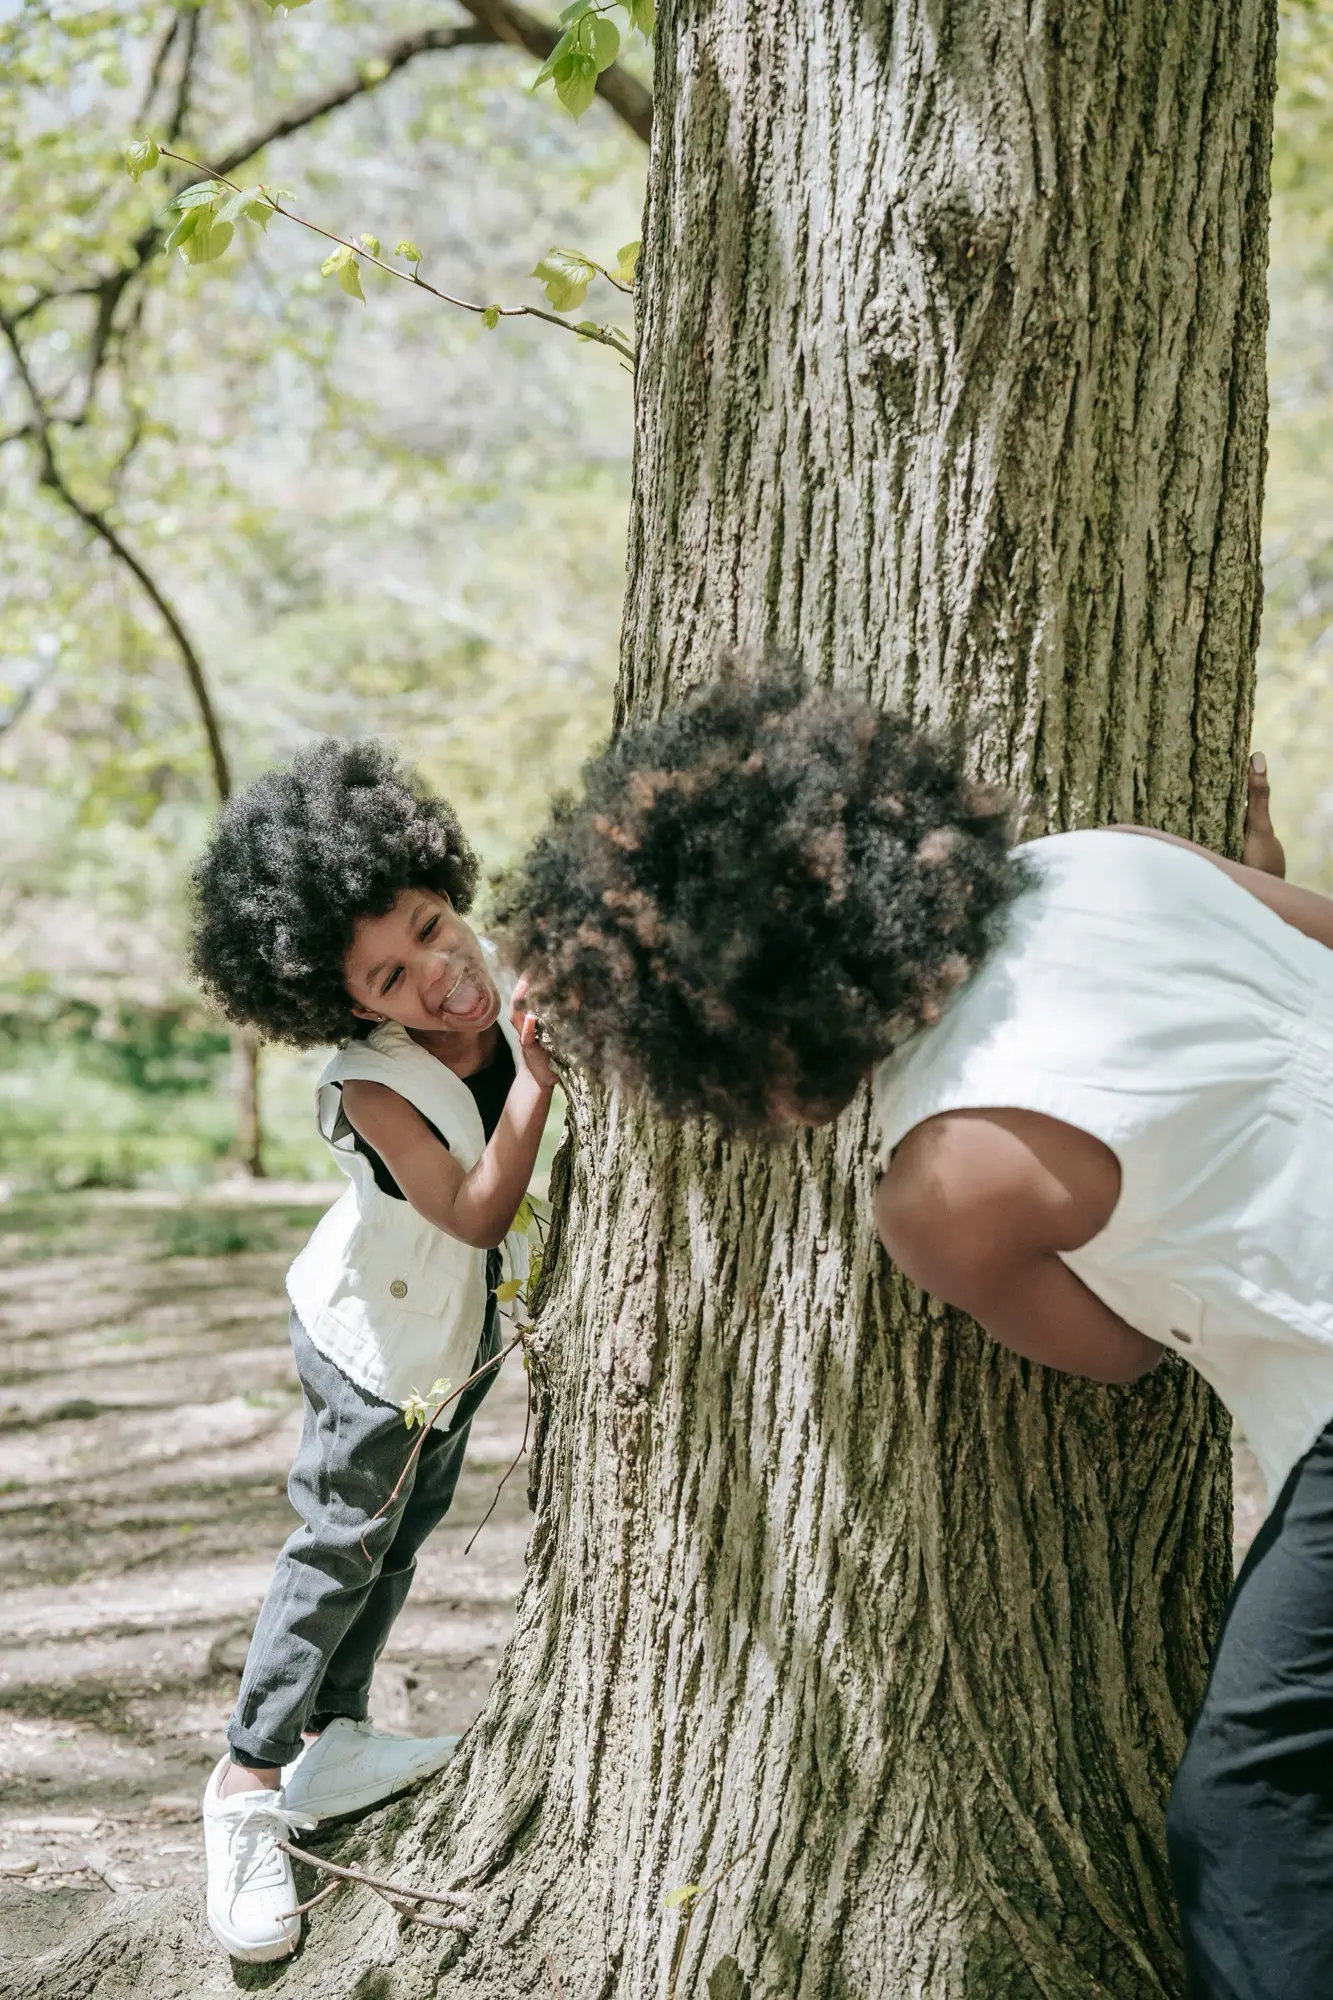
You could also play music your baby enjoys to keep the mood light and fun. And if you are feeling brave, let a sibling join in for a few moments. It might get messy, but it will definitely be memorable.
Parenthood Thoughts
A DIY first birthday cake smash photoshoot at home is not about creating a flawless scene. It is about capturing your baby’s personality in a moment of pure, messy joy.
Use what you have, keep things simple, and remember to enjoy it. Take the photos, take the videos, and then put the camera down for a minute and soak it all in. This is one of those milestones that passes quickly, but the memories will stay with you.


Leave a Reply